

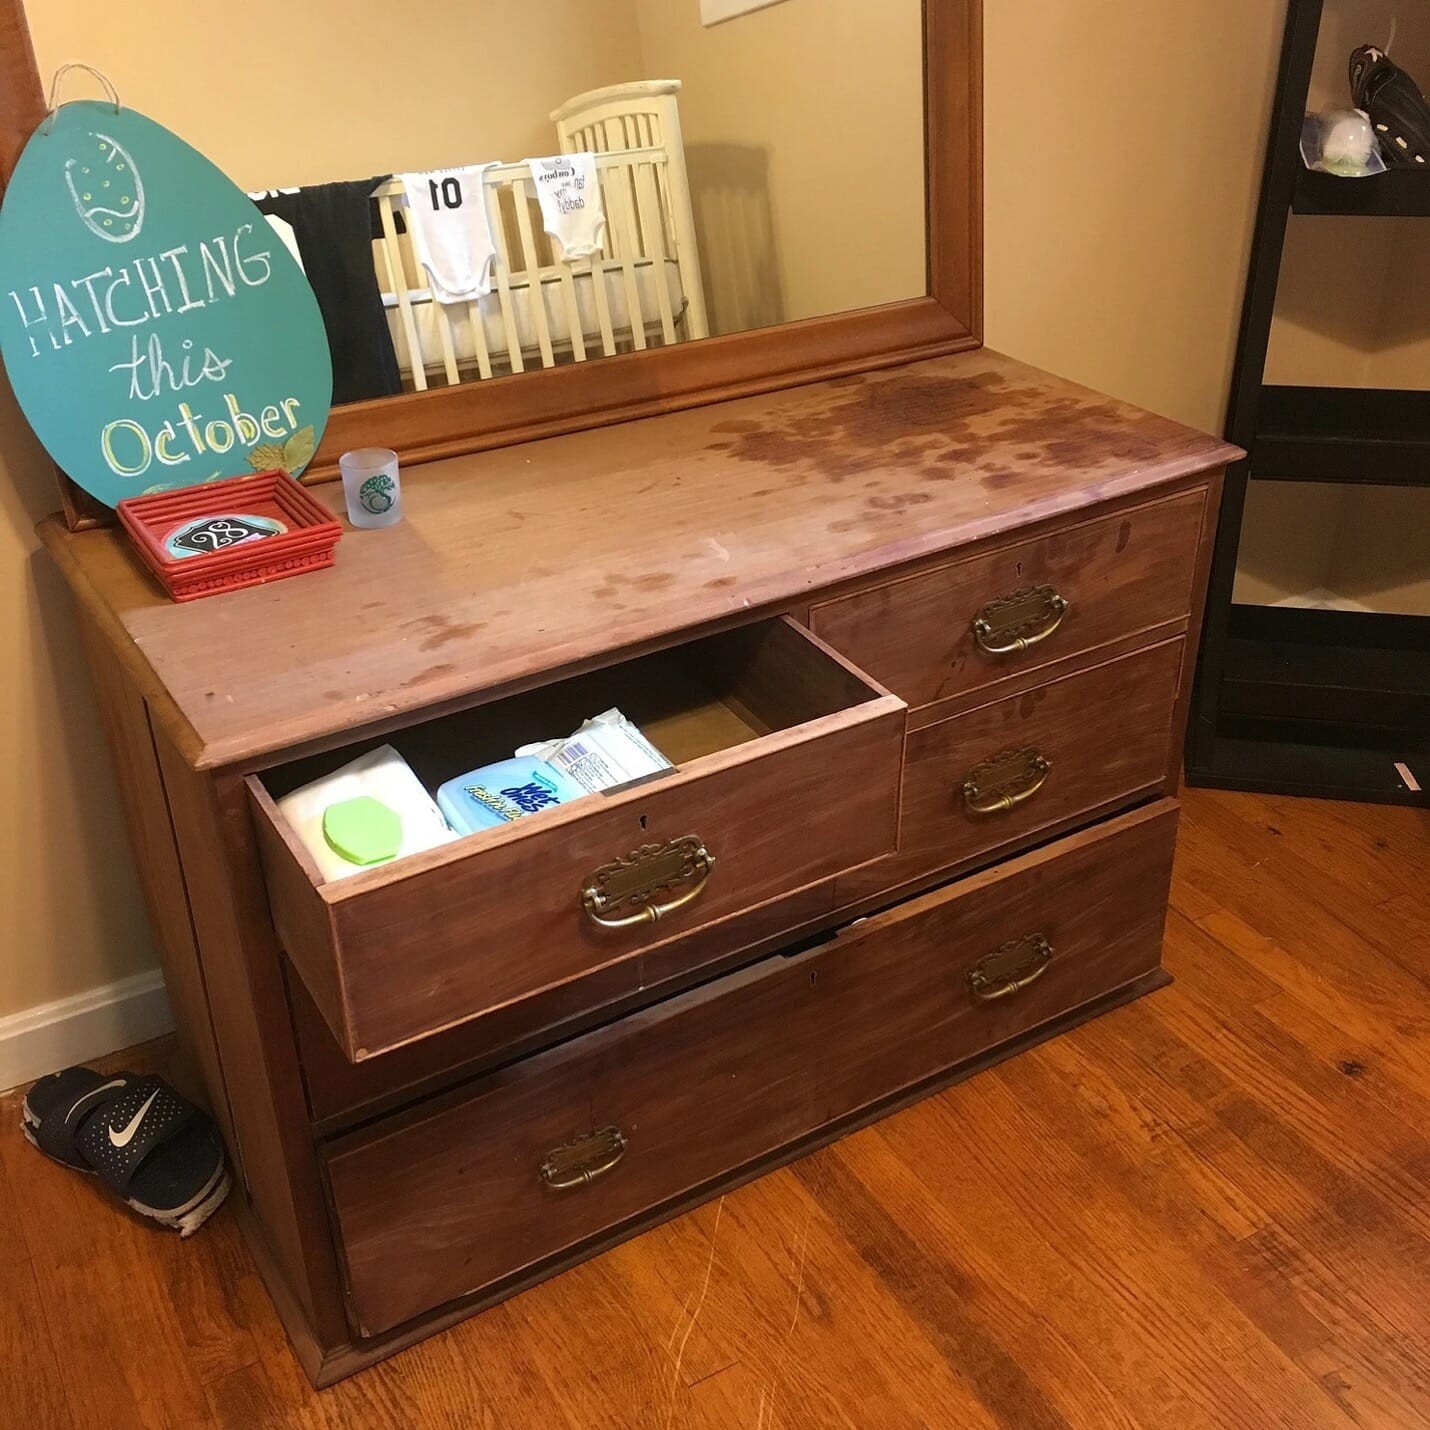
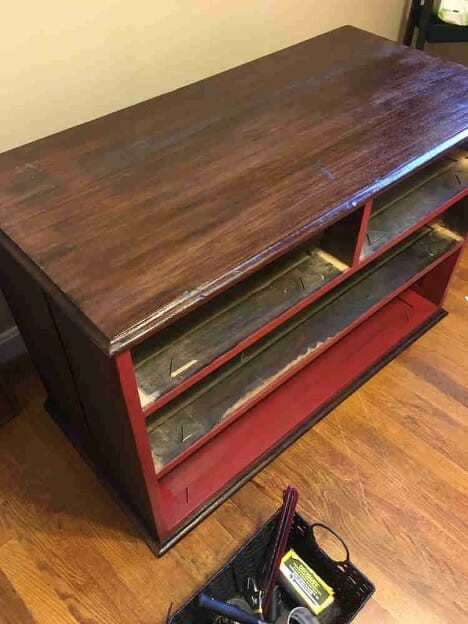
Before:
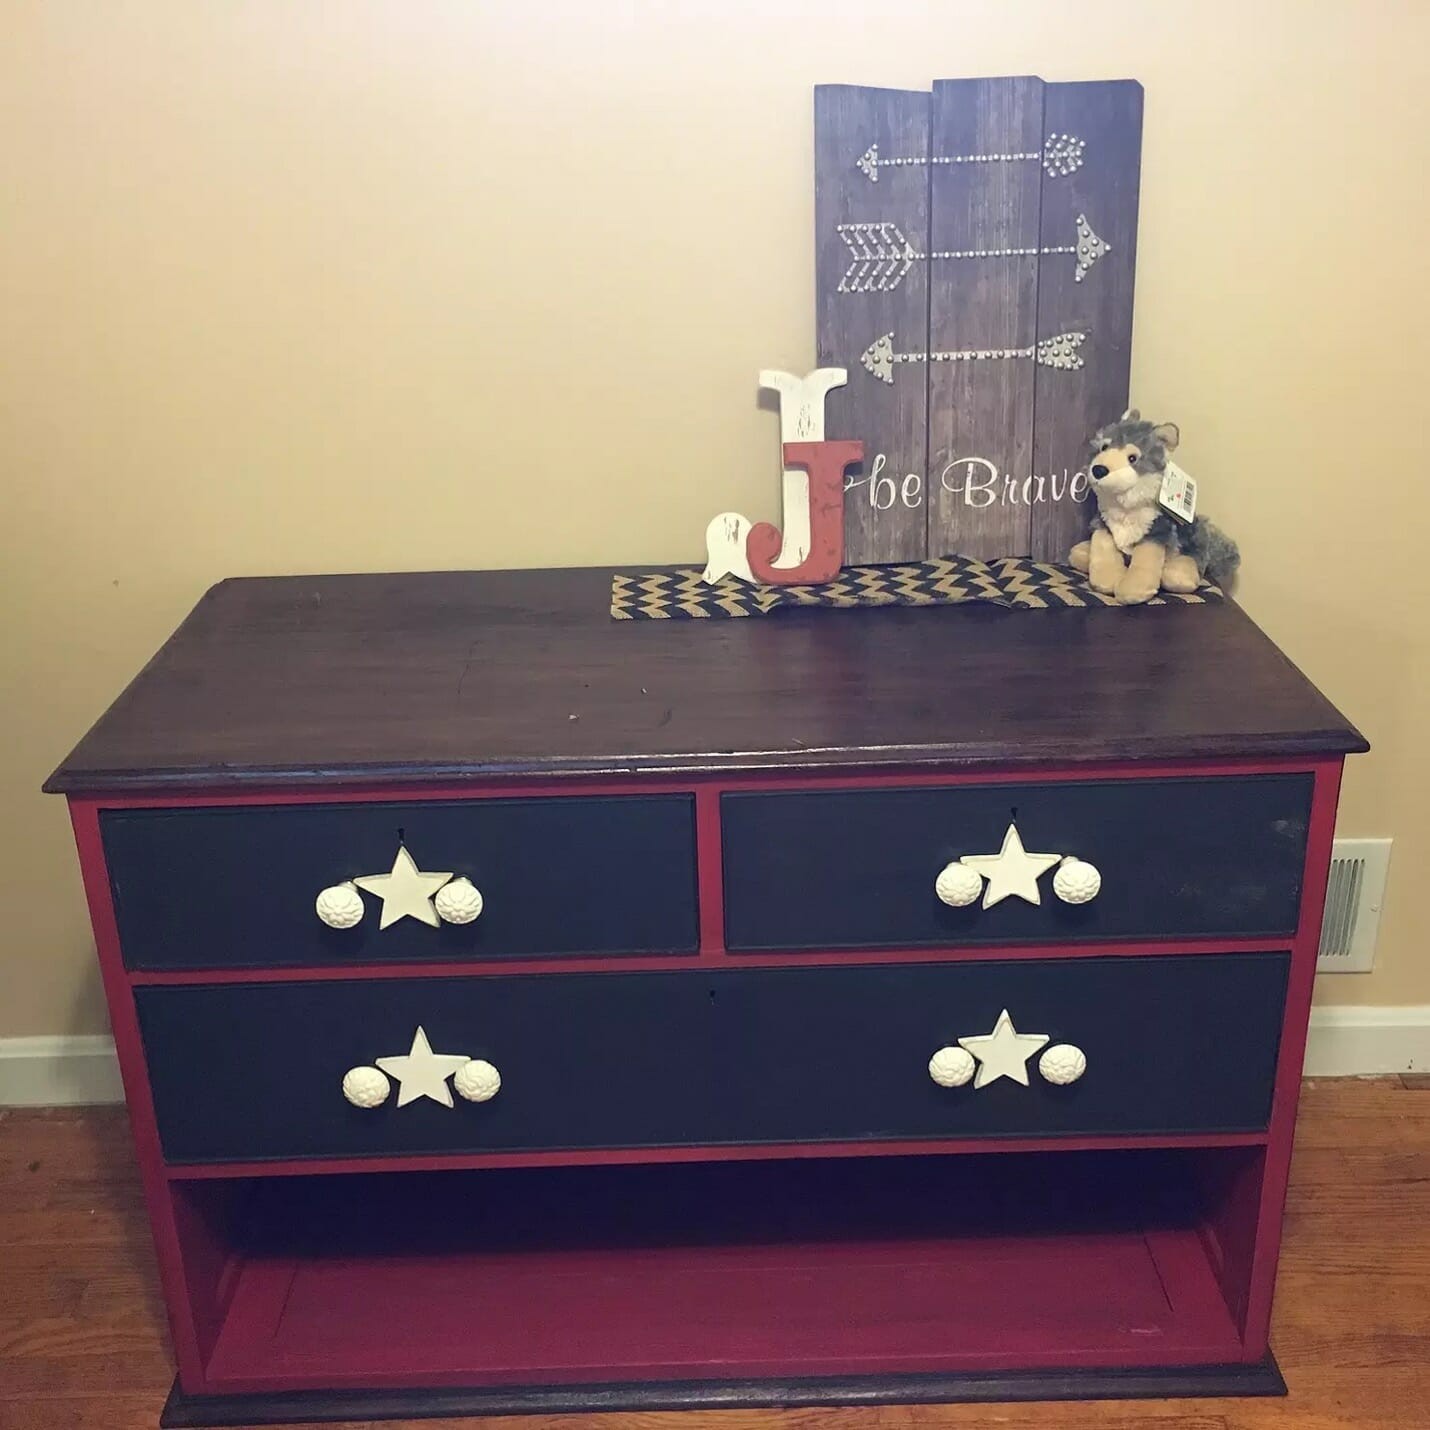
After:
Thrift Store Furniture DIY Makeover Steps:
Step 1: Remove all of the hardware. This is fairly simple especially with older pieces like this one. You just need a screwdriver to remove everything. I do suggest putting all of these pieces into a Ziplock bag right away so that you do not lose them.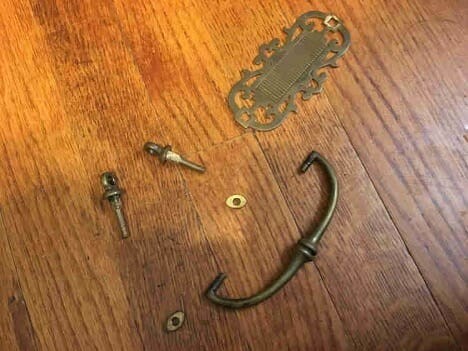 Step 2: Remove the drawers and paint them. I chose to go with a chalk board paint because I like the rough vintage look it gives, plus is doubles as an activity for my toddler.
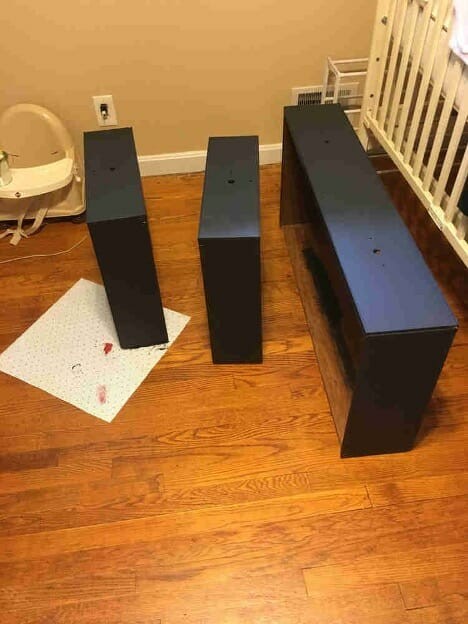 Step 3: Stain or paint the top of the dresser. I chose to go a little darker and painted the facing of the chest in a barn red. I also removed the bottom drawer completely (as it was not working very well) and painted the entire inside red. I used leftover paint and supplies from other projects, so I did not spend any money there.
 Step 4: Replace or reattach the drawer handles. I found some really cute vintage pull handles from a local antique store and used those. Then I added some fun wood stars from Michaels Craft Store.
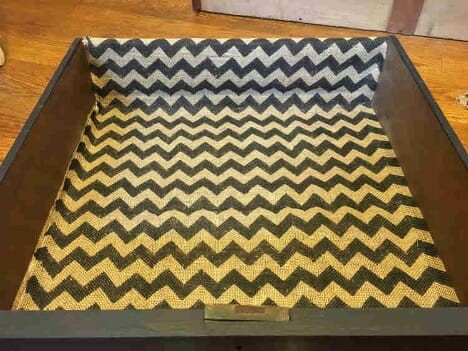
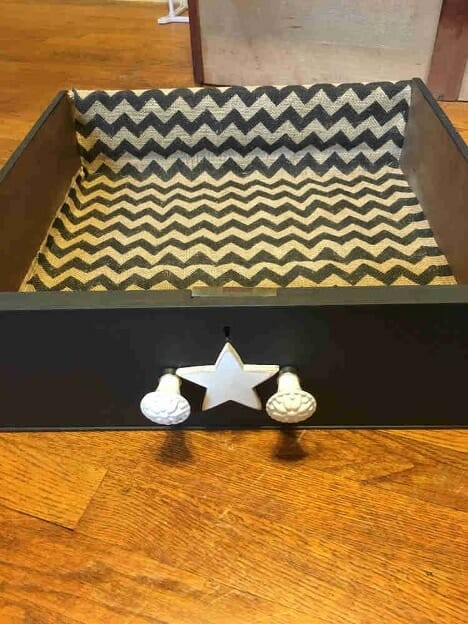 Step 5: This is totally optional, but I decided to line the drawers with some burlap I got on sale at Michaels Craft Store. If the inside of the drawers are looking a little rough, you can paint them or line them with a fabric/material. I cut to fit and stapled them down to stay in place.
 Of course I bought some swag that was on "super" sale. Michaels really does have some great bargains if you spend enough time looking around. The sign and letters I bought for less than $10.00.
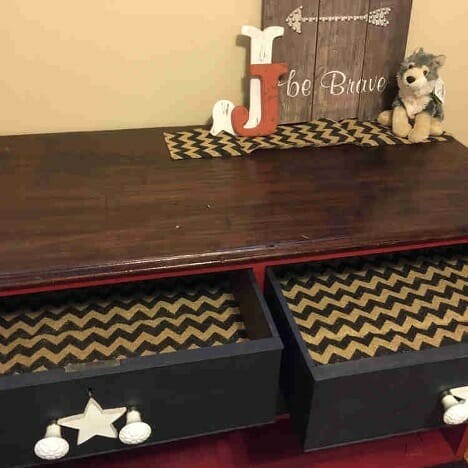 Total of this project = $80.00