
How to make screen print transfers with plastisol (2023)
Follow me step by step! There is not a single way of how to make screen print transfers with plastisol, but several. The one we will see here will be the cold way (and the best way, in my opinion). Also to keep in mind that plastisol works as a water base, gel type, from which we can print 100% cotton (it can also be with 50/50). Do not try to use it on 100% polyester, because that will migrate the ink, that is to say, the composition of the fabric will completely absorb the ink and it will not be the effect you want. Another detail is that this type of ink is only applicable in fabrics, you cannot use it on other materials such as paper, glass, etc. In case you see that the plastisol texture is too hard, you should use a conditioner or thinner to soften it (but try not to overdo it, because if it is too soft, it will stain your garment because it will pass too much ink). Specifically, the advantage of using these plastisol inks is that they will never dry, and that is thanks to their plastic base, an effect that does not happen with water-based inks and that is why I do not recommend using them for screen print, as well as chart inks since they have a limit of use.Step by step of plastisol transfer on a t-shirt.
- Step 1: We will use 1 normal sheet for the plastisol transfer. The size of the sheet will depend on the drawing you want to print.
- Step 2: We iron 10 to 15 seconds the normal sheet to a heat press, programmed to 180ºC approximately ( this will take out all the moisture). Then carefully remove it from the press and let it cool.
- Step 3: Place the sheet on a rubber-lined table. The important fact is that on the table should be a Teflon paper the size of the sheet because this type of material withstands heat and so you can use a dryer (if you have an industrial one would be much better, as it will heat more and will make the process faster), then place the sheet and put duct tape on each of the tips, so it does not move and is fixed.
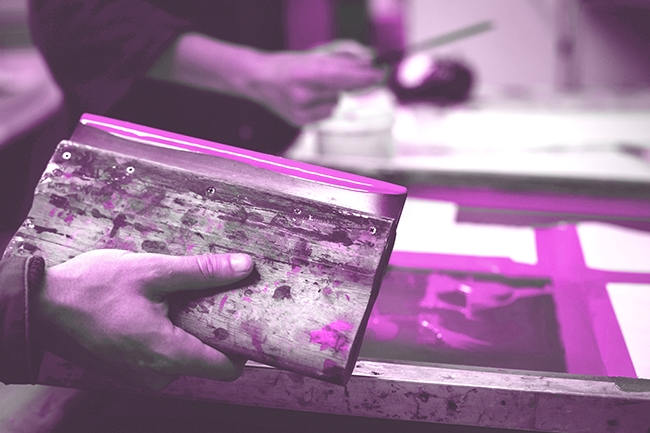
- Step 4: Place your print-ready drawing on your mesh and then place it on the sheet of paper fixed on the table.I leave you 15 inspiring examples of screen printing so you have an idea of what designs you can print on your shirt! You already know that you have to put it in mirror mode so that it comes out on the right side (for example, if you want your design to be seen from right to left, you place it inverted, that is to say from left to right), cover it all with the plastisol of the color you chose and make two to three passes. You need to use a spatula or something rectangular to apply the paint evenly.
- Step 5: Dry the entire design and then place the transfer resin or polyamide powder (put it all over the drawing), then shake everything until there is no excess powder left and dry it.Once dry, place it on the shirt and then iron it for a few seconds. Then place it on the table and pass a cotton cloth over the paper, so that the whole drawing adheres. Before peeling it off, try to have rubbed it all over the design, so it sticks perfectly.
- Step 6: Carefully remove the paper from the garment to leave the print on it.